What Is Gua Sha?
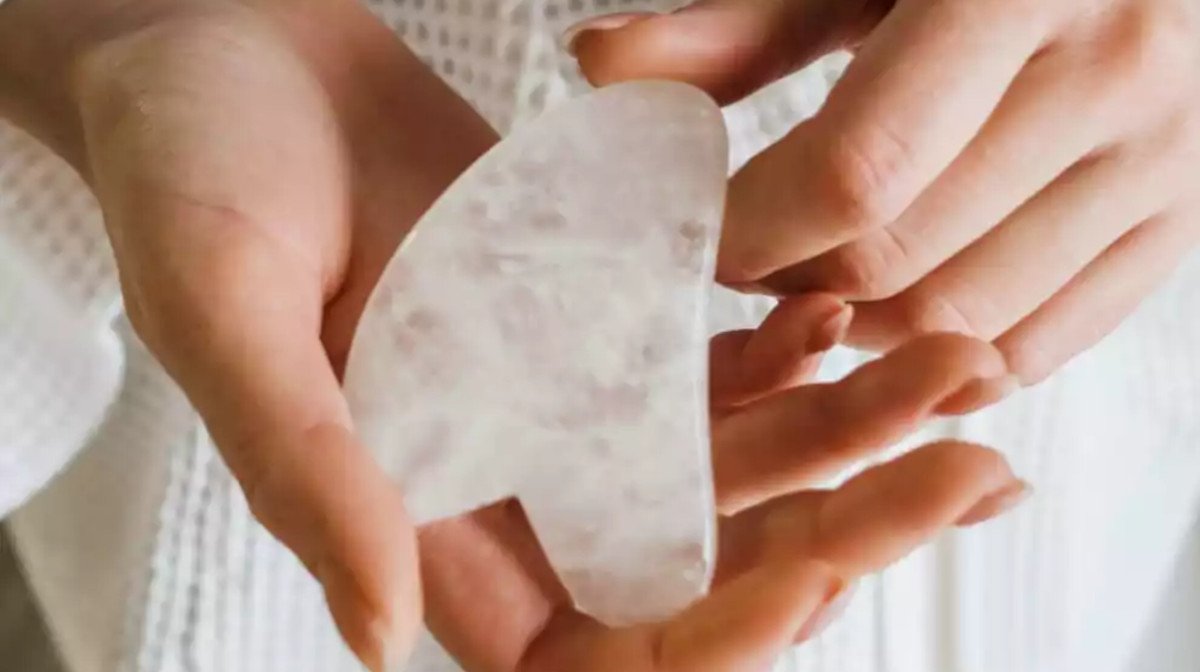
Gua Sha is a treatment traditionally used in Chinese and East Asian medicine. “Gua means press, and ‘Sha’ means sand - it’s a treatment that consists of dragging a flat rose or jade quartz stone over the skin in strokes to relax stiff muscles and promote tissue drainage. At first, the results don’t look the best, it leaves you with redness and bruising as your face heals. However, after a few months you should see dramatic results!
Although gua sha facial videos have been the top trend on Tiktok, you can do gua sha on the face, body and even the scalp. Begin by starting with an oil, never on bare skin, the oil helps the tool to easily glide across the skin, ensuring you don’t cause any damage to the skin cells.
Gua sha is done relatively gently (you’re in control of the pressure and the shape of the tool you use), we recommend avoiding this technique if you are prone to broken capillaries or acne breakouts.
How Often Should You Gua Sha?
To ensure that you receive the best results, be sure to gua sha once per day. However experts say that you can still experience the benefits of this facial massage technique if you do it two, three times a week.
Which Gua Sha Tool Should I Use?
If you do a quick internet search you’ll probably find yourself on a page filled with 100’s of gua sha tools, it all can become slightly overwhelming! Jade is one of the most popular options, Jade is known for its balancing effects and its ability to soothe and de-puff facial features whilst clearing inflammation. Another good option is rose quartz, it’s especially good to use on the neck and chest! Whatever you go for, you’re going to see the benefits.
How To Use A Gua Sha
1. You can use a gua sha on the face, body and scalp, and it’s best to use this alongside your preferred choice of oil.
2. Hold the gua sha tool with the curved side to your face and glide it gently up and out, starting with the neck, jawline, chin and around the mouth, between three and five times per area. Always take short strokes in just one direction, not back and forth.
3. Next, press the tool flat to the skin, under the eyes or over any redness, to soothe and de-puff.
4. Work the tool in small horizontal strokes over the brow bone to lift, or hold and press upwards between the brows to release tension.
5. Stroke down the neck, never upwards, to drain fluid.
6. If you want to reduce puffiness, work lightly, then more firmly, to relax muscles.
Thank you for reading, we hope you’ve enjoyed this post! Come and take a look at the incredible fragrance and beauty brands we stock!

